
Rails 7+webpackをCloud Run+Cloud SQL構成で動かす では Ruby on Rails 7 を Cloud Run で実行する方法を説明しました。
この記事では Cloud Run 上で動作する同じ Ruby on Rails アプリケーションを使って IAP で認証する方法を説明します。
この記事で説明するサンプルコードは下記にあります。
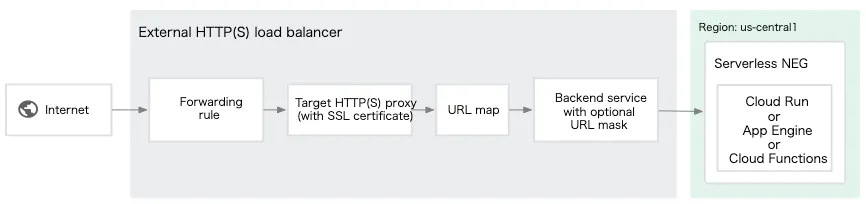
Cloud Run に IAP を適用するには、HTTP(S) ロードバランサを作成し、ロードバランサに IAP を適用し、ロードバランサの背後にネットワークエンドポイントグループ(NEG)として Cloud Run サービスを配置します。
下図は サーバーレス ネットワーク エンドポイント グループの概要 から引用した構成図です。
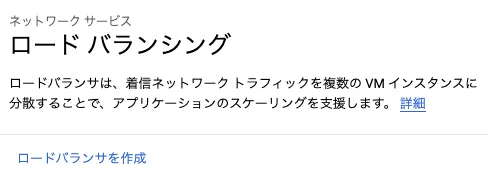
Google Cloud コンソールから Cloud Load Balancing を開きロードバランサを作成します。
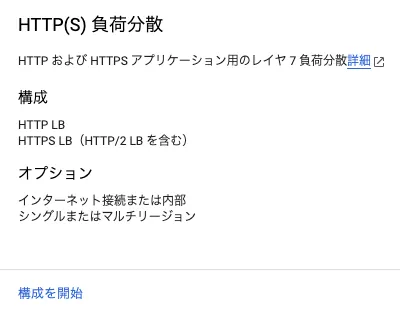
ロードバランサの種類は「HTTP(S) 負荷分散」を選択します。
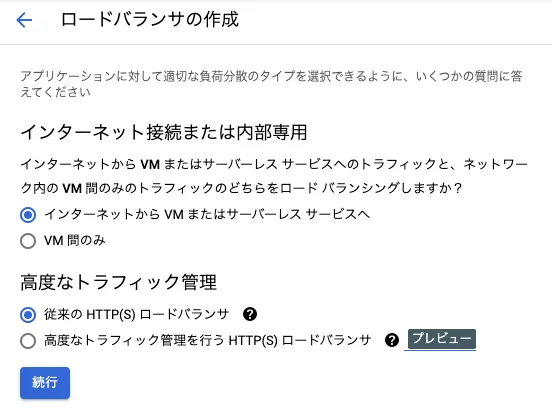
「高度なトラフィック管理」では「従来の HTTP(S) ロードバランサ」を選択します。
もう一方は現時点では IAP に対応していないためです。
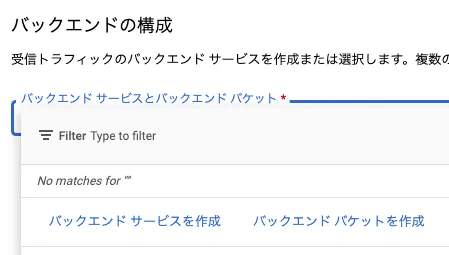
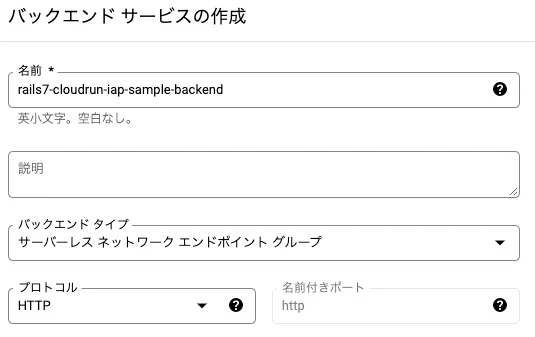
バックエンドから順に構成していきます。まずはバックエンドサービスを作成します。
名前は rails7-cloudrun-iap-sample-backend としておきます。
バックエンドタイプは「サーバーレス ネットワーク エンドポイント グループ」を選択します。
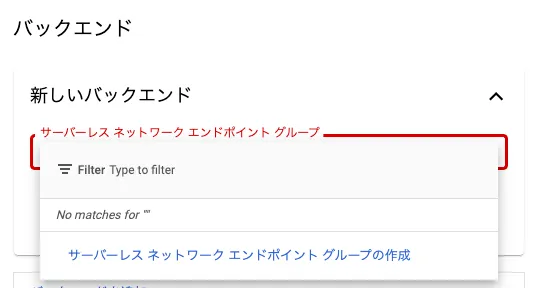
新しいバックエンドとしてサーバーレス NEG を作成します。
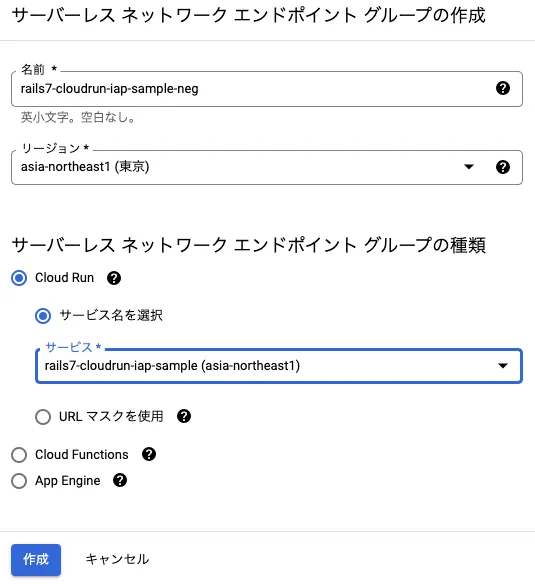
rails7-cloudrun-iap-sample-neg という名前で作成します。
リージョンは Cloud Run サービスと同じ asia-northeast1(東京) を選びます。
サーバーレス NEG の種類で Cloud Run を選択し、作成したおいた Cloud Run サービスを選択します。
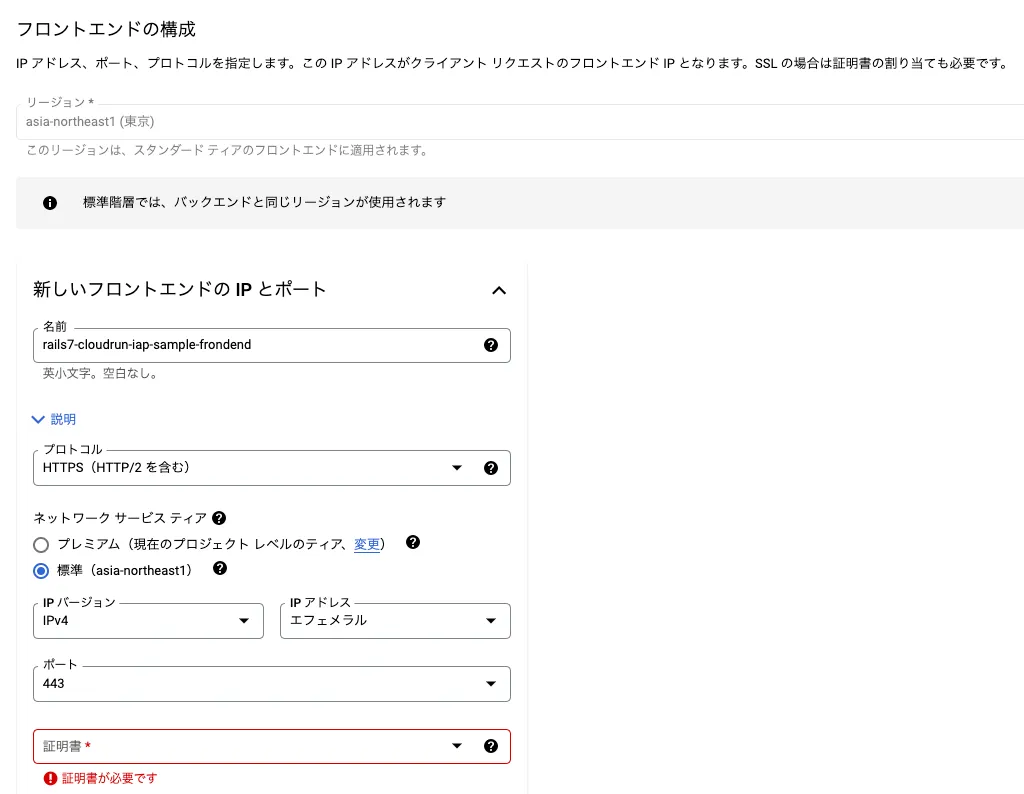
バックエンドを作成したら次はフロントエンドを構成します。
名前は rails7-cloudrun-iap-sample-frondend とします。
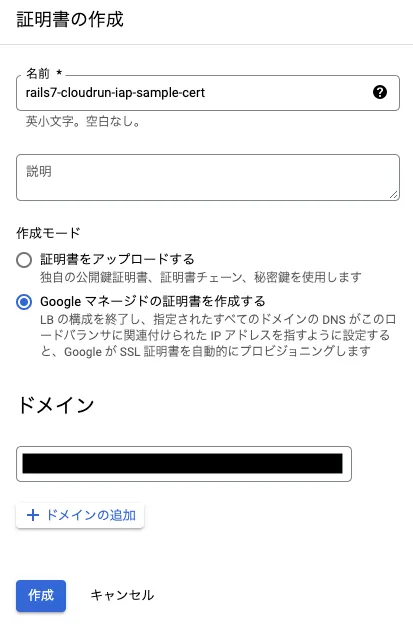
プロトコルは「HTTPS (HTTP/2 を含む)」を選択し、証明書を作成します。
証明書の名前は rails7-cloudrun-iap-sample-cert とします。
証明書、ドメインは適宜選択・入力してください。
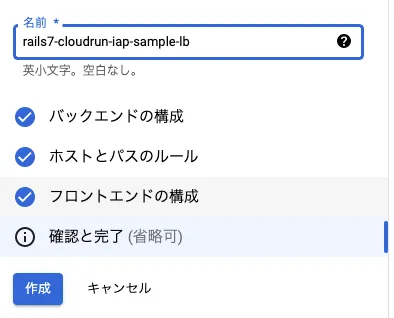
証明書を作成してフロントエンドを構成したら、ロードバランサの名前を rails7-cloudrun-iap-sample-lb として作成します。
ロードバランサを作成したら、証明書作成時に登録したドメインがロードバランサのパブリック IP を指すように DNS レコードを設定します。
「IAM と管理」を開き Identity-Aware Proxy を選択します。
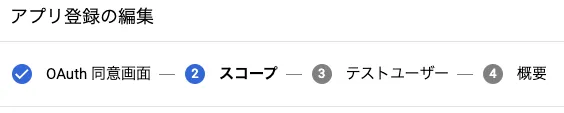
API を有効化した後、最初に OAuth 同意画面を構成する必要があります。
アプリ名、メールアドレスを入力して「保存して次へ」を押して「OAuth 同意画面」を構成したら、次の「スコープ」は入力する必要はありません。IAP の画面へ戻りましょう。
IAP の画面に戻ると先ほど作成したらバックエンドサービスが表示されているので、IAP のトグルボタンを押して IAP を有効化します。

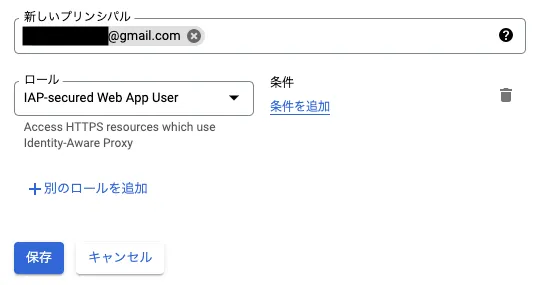
IAP を有効にしたバックエンドサービスにチェックを入れ、情報パネルから「プリンシパルを追加」を選びます。
プリンシパルには自分を含むログインを許可したいユーザーの Gmail アドレスを入力します。
ロールは IAP-secured Web App User を選択します。
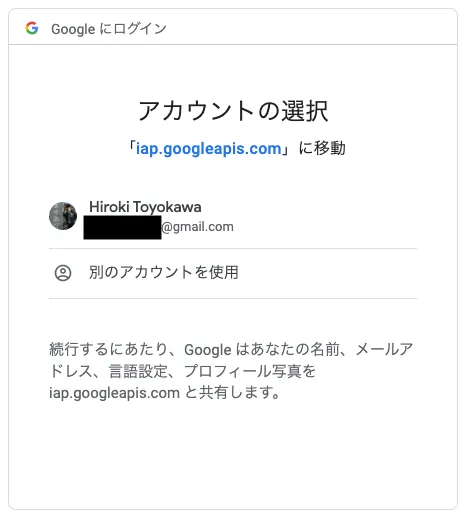
ドメインにアクセスしたときに Google アカウントへのログイン画面が表示されれば成功です。
IAP を迂回して Cloud Run にアクセスできないように Cloud Run のロール/プリンシパルに Cloud Run 起動元/allUsers がないことを確認しておきましょう。
IAP を経由したリクエストには署名付きヘッダが追加され、認証したユーザーを取得することができます。
署名付きヘッダを検証するために IAP から JWT オーディエンスコードを取得しておきます。

取得したオーディエンスコードは credentials や環境変数などに設定しておきます。
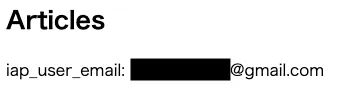
署名付きヘッダを検証してペイロードからメールアドレスを得るには次のようにします。
require "googleauth"

def iap_user_email
  iap_jwt = request.headers["X-Goog-Iap-Jwt-Assertion"]
  aud = Rails.application.credentials.production[:iap_jwt_aud]
  payload = Google::Auth::IDTokens.verify_iap iap_jwt, aud: aud
  payload["email"]
end
サンプルアプリでは画像のようにメールアドレスを表示していますので参考にしてみてください。
署名付きヘッダからユーザーを取得する方法について詳しくは下記のヘルプをご覧ください。
例として使用したサンプルアプリは下記にあります。
以上です。この記事では Cloud Run 上で動作する同じ Ruby on Rails アプリケーションを使って IAP で認証する方法を説明しました。
コメントを送る
コメントはブログオーナーのみ閲覧できます